In order to set up the initial link between your SPOT X with Ok Alone please follow this guide ( https://docs.okalone.net/spot-device/ ) and then return to this page.
Welcome back! Now that your SPOT X is linked to the Ok Alone system you will need to take some additional steps to ensure full functionality for the X.
SPOT X Buttons and Features Overview

On the SPOT X the main menu is selected using the Select button.
The Track button will activate tracking and can be adjusted for the timing intervals that the SPOT X will send to Ok Alone.
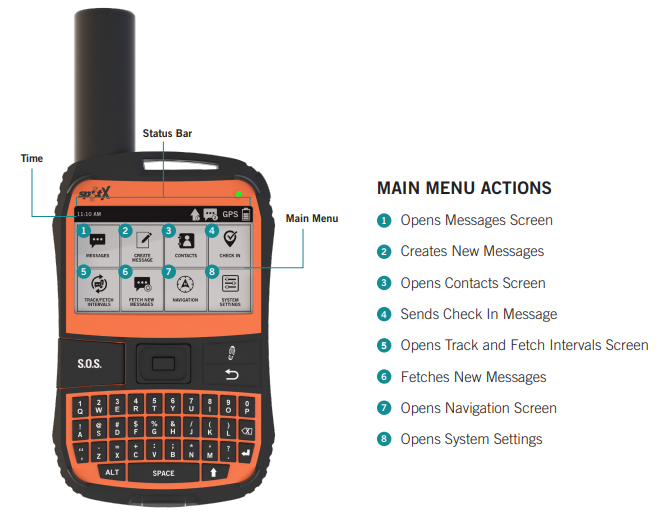
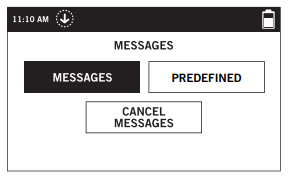
In the SPOT X you can choose contacts to send messages to, create messages, select predefined ones, and Check In directly.
For full functionality with Ok Alone we need to set up a new contact and create some new predefined messages. These actions are performed on the ‘Your SPOT Account’ page.
1. Edit your SPOT X Settings Online

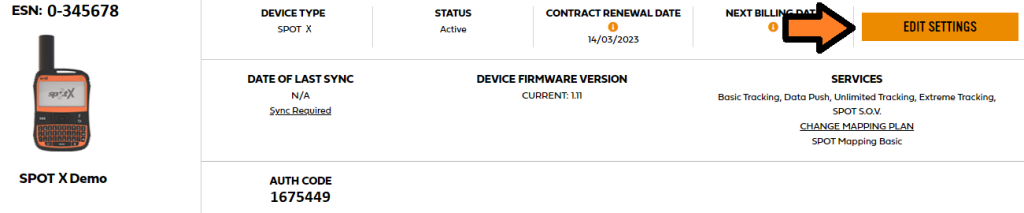 Select your SPOT X device and select ‘Edit Settings’.
In the Contact Settings:

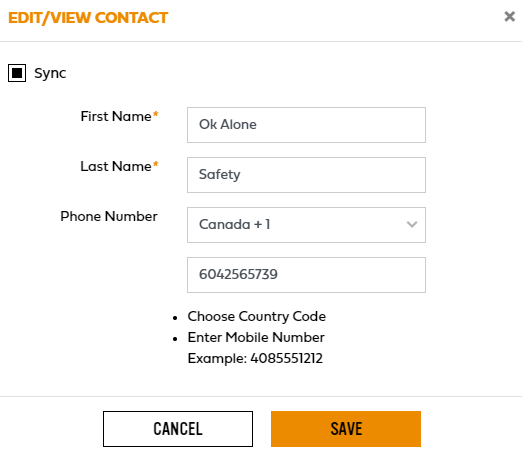
Next select My Contacts and then choose to Create a New Contact. Your contact save screen can be set up in the same way as this one, using the following numbers:
Canada +1 604 256 5739
the USA +1-650-402-3018
the UK +44 1986 232027
Australia +61 417 667 857
New Zealand +64 9-887-8405
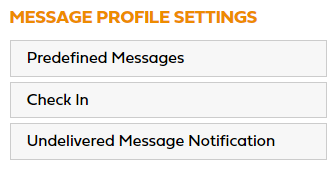
2. Set up your Message Profile
In the Message Profile Settings you can change ‘Predefined Messages’ and your ‘Check In’ message.
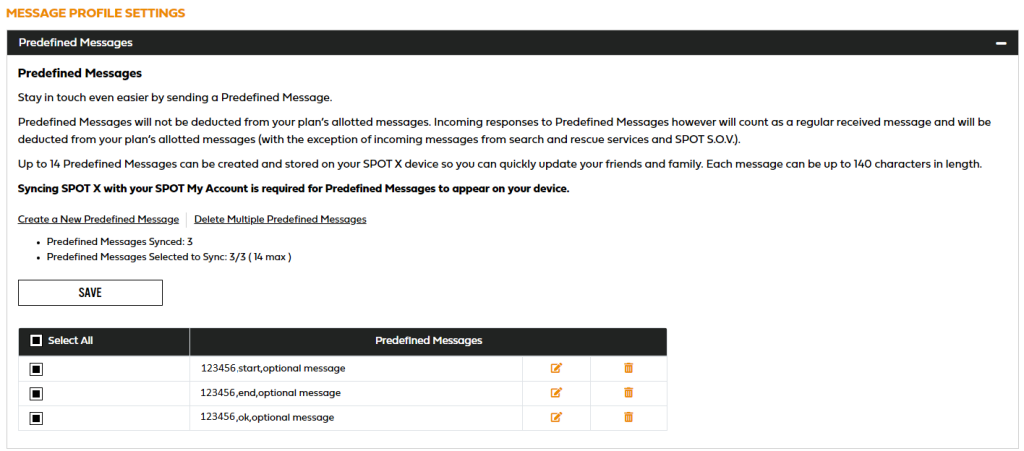
Click Predefined Messages and you will see many messages pre-built into your SPOT X. Please edit 3 of them and replace them with the 3 shown in the image above, using your worker’s PIN instead of the example PIN (123456) and adding in any additional information needed as an optional message. If you do not need to add additional information just type the PIN and command. The ‘ok’ action will also be able to start a shift. These messages can have commas between the parts of the message or no commas. “PIN,action,optional message” or “PIN action message”.
- 123456 end
- 123456 ok
- 123456 help
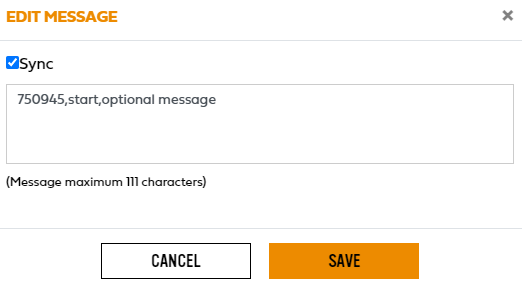
When you save your edited message, make sure to click Sync so that your SPOT X will know to sync the new predefined messages.
You can also change your default Check In message in the same way using the “PIN ok” message. Then you can also start a shift using the Check In button.
3. Sync your SPOT X
The last step on the https://myaccount.findmespot.com/ site is to is sync your SPOT X up with your account by plugging the device into your computer as you would normally for a sync or firmware update as described in the SPOT X manual.
4. How to use Ok Alone with the SPOT X
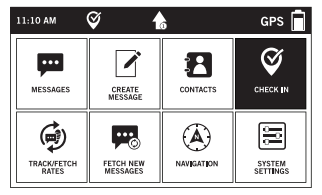
In order to send a Start Shift or End Shift message a worker must go to the messages button in the main menu and then select Predefined Messages.
A worker can select either the “worker’s PIN start” to Start or “worker’s PIN end” to End their shift.
The worker can also send ‘worker’s PIN help’ to send a Help Request.
The Check In button will now send a message with the “worker’s PIN ok” this will check you in during your shift and let Ok Alone know that you’re OK.
All of these messages will be sent to your Ok Alone Contact Number.
Your SPOT X is now all set up to work with Ok Alone!
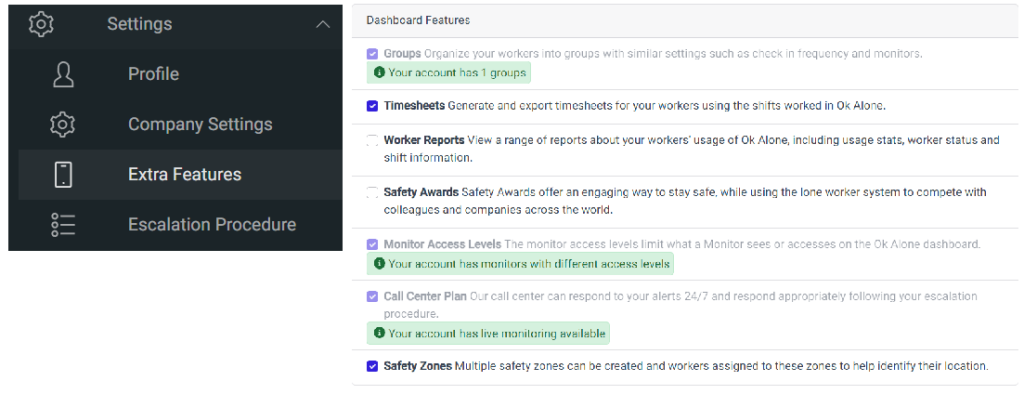
Feature Management
In order to use SPOT devices you will need to turn on the feature in the Feature Management section.