Within the Ok Alone system, you can create worker groups. We have changed the way worker groups are created to make it an easier, more streamlined process. Please follow these step by step instructions on how to create new groups and add workers to them.
How to Access the Groups Page
Log in to the dashboard at my.okalone.net
Click on the Groups icon on the left hand menu.
How to create a new Group
Click Create a Group and the creation tab will appear on the screen. Type the name of the group you want to create into the Group Name box on the right hand side of the screen. Click Create Group Now and the group will appear in the table below.

The name of the new group should appear at the bottom of the screen. To choose settings for the new group click the Edit button.

A new page with the new group name at the top should open.
Updating Group Settings
Groups can have a number of optional settings. These are kept by the group and can by used to easily update workers added to the group, or update all workers at once.
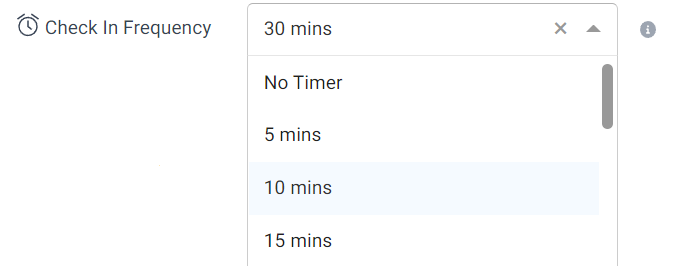
Click the Check in Frequency box and select the length of time for check ins from the drop down menu.
Click the Monitor box and select who you would like from the drop down menu (you can select more than one person if required).
You can also set an Alert Loop in the same way and set the Timezone for the Group if needed.
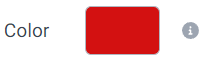
Each Group can also be assigned an individual Colour to allow workers within that group to be easily identified on our Locations Map.
Click the Call, SMS, and Email Reminders tab if you have the Comms Plan.
Choose how many times an SMS is sent or a Call is made (the Count) and how long to wait between reminders (the Delay).
Email Reminders are sent out once after waiting a set amount of time past a missed Check In.
Select Update all Workers with these Settings if you would like them to apply to all the workers you will be entering into the group. Click Update the Group to save changes.

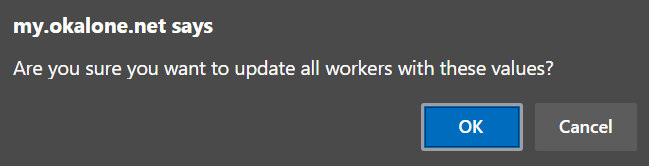
A pop up will ask if you wish to apply your setting choices to all workers in the new group. Click whichever option applies.
You have now completed a new group! You just need to populate it with workers.
Adding Workers to the Group
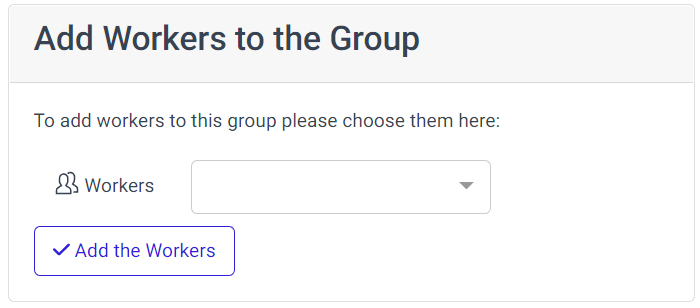
On the right side of the page there is an input for adding Workers to the Group. Select all the workers you would like in the group and then click Add the Workers. Scroll down to find a table with all the workers in the group and their current Monitors, Check In settings, and Reminder settings.
Synchronising Worker Settings
This will take you back to the page for this specific group. Any workers whose information does not match that previously set for the new group will show in red.
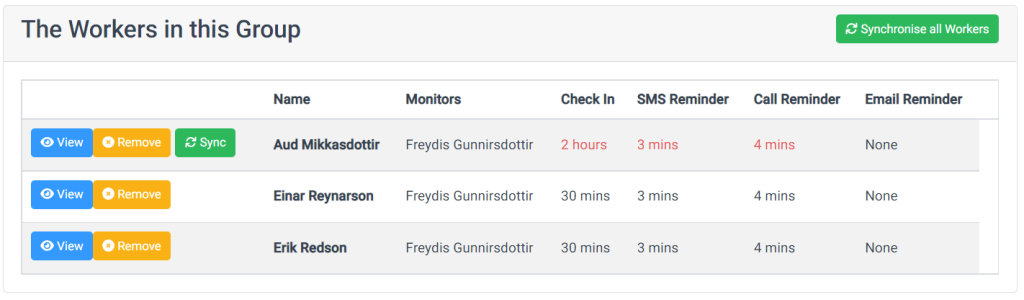
If they are not to be changed leave them as they are. If the settings need to be the same as the other group members click Sync at the left hand end of their row.

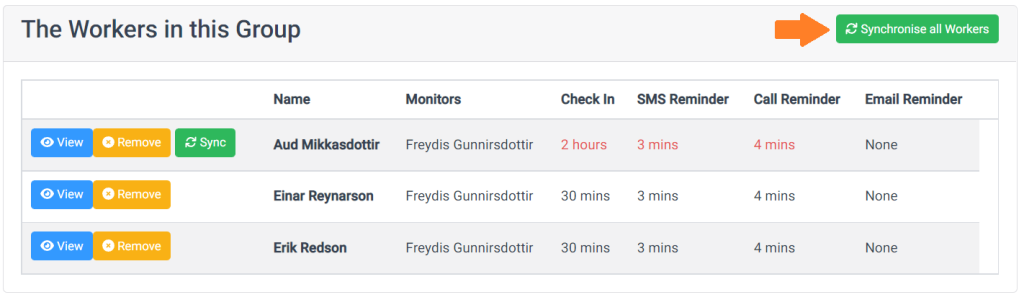
Alternatively, if all workers need to be changed to the new settings, click Synchronise All Workers to amend them.
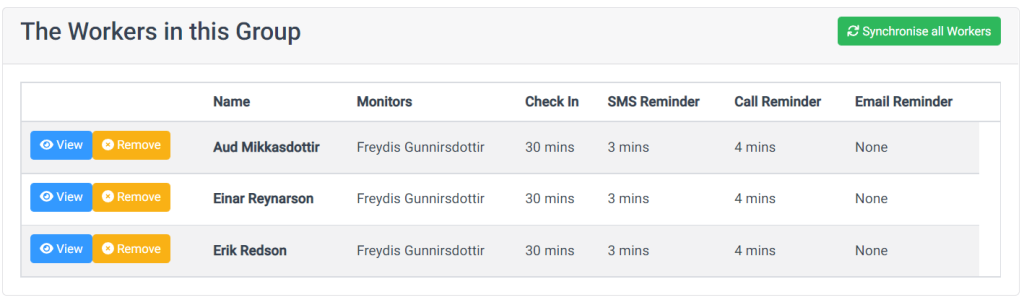
All workers now have the same Monitor, Check in, SMS/Call/Email reminder settings.
Note – If the Update All workers with these Settings box is ticked a pop up will ask if you are sure you want to apply the changes to all the workers in the group. If the Update all Workers with these Settings box is not ticked when changes are saved, then the worker information will turn red to show it is not uniform across the group. This again can be changed by clicking Sync at the beginning of the row or Synchronise All Workers.
Now when you go to the Groups page it will show you which groups you have created and who is in them.

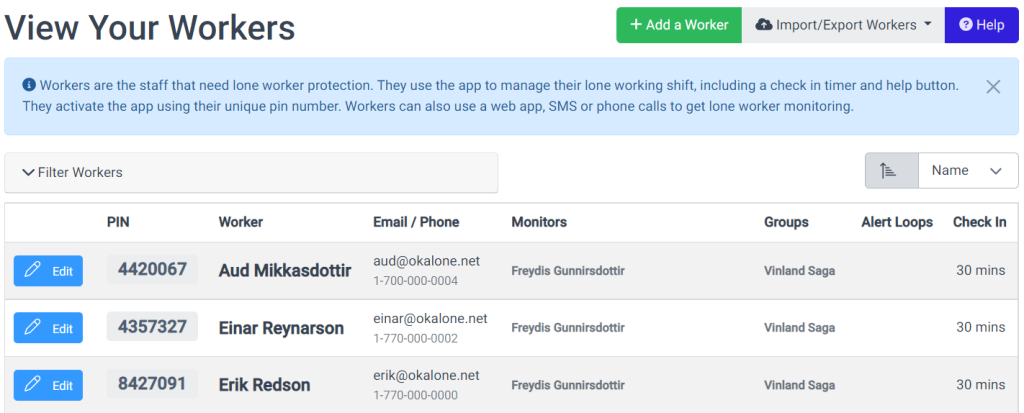
The Workers page will also let you see which groups people have been allocated to.
Feature Management
Groups is a feature within Ok Alone that can be turned on/off in our Feature Management settings.